
Privacy statement: Your privacy is very important to Us. Our company promises not to disclose your personal information to any external company with out your explicit permission.
The Application of Laser Tracker in the Automotive Industry
With the continuous improvement of automotive manufacturing industry standards and measurement technology, laser trackers have been widely recognized and applied in various fields of measurement in automotive manufacturing production. In this article, we will share a case study of using the API brand Radian Plus model laser tracker in conjunction with the vProbe hidden point probe to perform rapid 3D measurement and data analysis on automotive hood components.
Other requirements: The entire measurement process is accurate and fast.
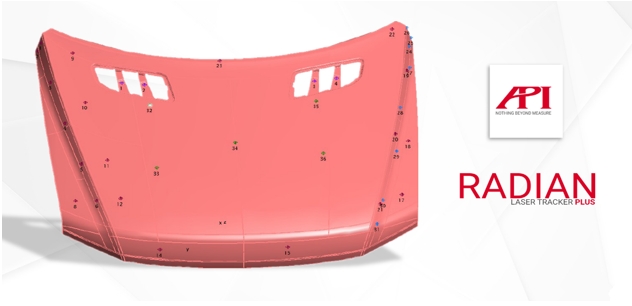
Figure 1: Schematic diagram of the digital simulation of the car hood to be tested and the position of the test points
Measurement process&key points
Place the Radian Plus laser tracker next to the cover of the machine to be tested, connect the laptop, and start the measurement. The Radian Plus laser tracker uses API ADM Maxx absolute laser, and the entire system does not require preheating, enabling instant startup and measurement, which is stable and efficient.
If the on-site environment space is narrow, in addition to normal installation, the Radian Plus laser tracker can also be installed horizontally, upside down, or at any angle to tilt on a short size tripod, tripod base, magnetic suction cup, or even on a workpiece or machine workbench, allowing for maximum convenience in measurement.
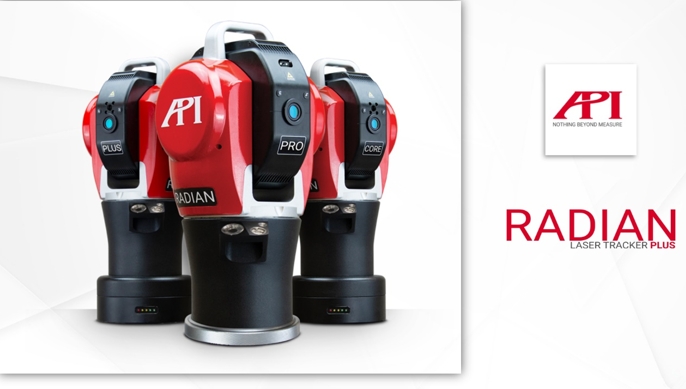
Figure 2: Radian series laser tracker (left to right: Plus/Pro/Core models)
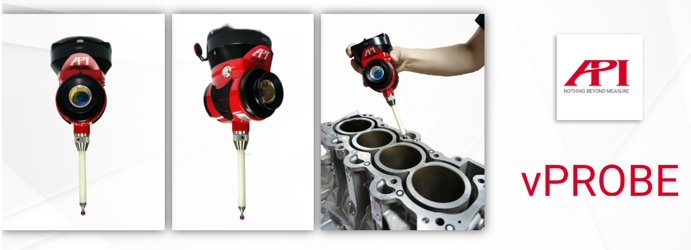
Figure 3: vProbe Wireless Hidden Point Intelligent Probe
During measurement, the operator holds a laser tracker ball (SMR) with a built-in prism, and the laser emitted by the Radian Plus will be locked at the center of the SMR and tracked in real-time; The operator touches the position to be measured on the machine cover with a target ball, and Radian Plus will accurately collect the coordinate data of the position point at a rate of 1000Hz. The data will then be fed back to the Measurement Software located on the laptop and stored for subsequent comparison and analysis.
For deep holes, hidden points, and difficult to reach parts of the target ball encountered in measurement, using the vProbe hidden point intelligent probe can achieve accurate data collection for these parts; Similar to regular SMR, the host of the vProbe is equipped with a laser grounding port. The laser emitted by the Radian Plus is locked and tracked by the grounding port. The operator uses a ruby probe installed on the top of the probe on the vProbe body to touch the tested part, and the tracker can automatically recognize and collect the point coordinate data of the position mark; Accurate measurement of hidden parts can be achieved without the need for laser tracker station transfer.
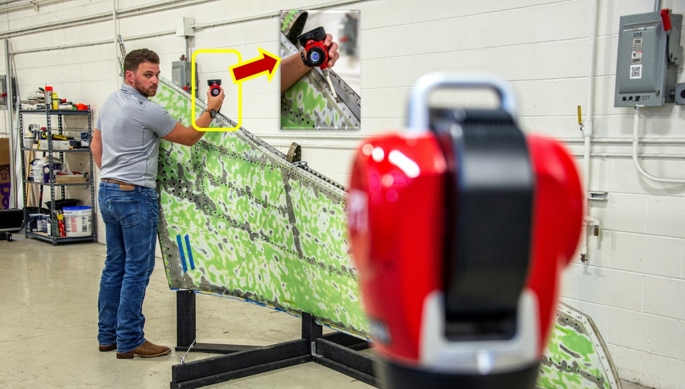
Figure 4: Schematic diagram of measuring hidden points of workpieces using the combination of vProbe intelligent probe and Radian Plus laser tracker
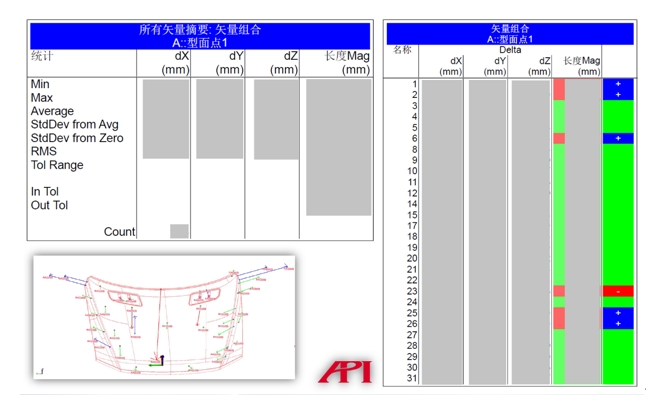
After all the target point values have been collected, the software can load the mathematical model and unify the coordinate system. Then, the actual measured values can be compared and analyzed with the theoretical values, and the corresponding differences can be obtained to achieve the purpose of detection.
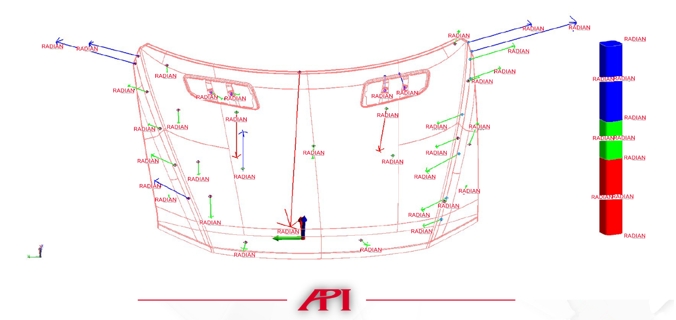
Measurement software can generate measurement reports in various forms, including arrows, color difference charts, bar charts, lists, and so on. The operator only needs to input the tolerance range and select the expression form, and the system can quickly and automatically generate the required data analysis report. It is objective, intuitive, and intuitive, and can efficiently evaluate the deformation status of the machine cover, and provide a reliable data foundation for the implementation of Repair.
6:(,,)
The measurement system composed of Radian Plus laser tracker and vProbe hidden point intelligent probe, based on its ultra-high accuracy, convenient operation method, and friendly human-machine communication interface, fully meets the customer's requirements for accuracy and speed, and efficiently realizes the measurement and analysis of the degree of deformation of the car hood in this case.

Figure 7: API Company Headquarters Building (Rockwell, Maryland, USA)

Privacy statement: Your privacy is very important to Us. Our company promises not to disclose your personal information to any external company with out your explicit permission.

Fill in more information so that we can get in touch with you faster
Privacy statement: Your privacy is very important to Us. Our company promises not to disclose your personal information to any external company with out your explicit permission.