
Privacy statement: Your privacy is very important to Us. Our company promises not to disclose your personal information to any external company with out your explicit permission.
Inspection Requirements for Reactor Internal Components
The reactor internal components are the core of nuclear power plants, with high quality assurance levels, complex structures, and close coordination between equipment and components. The construction of each part affects each other. After the assembly of the reactor internal components is completed, it is necessary to carefully check the coaxiality between the center of the top cover nozzle flange and the center of the core basket fuel support, as well as the coaxiality between the top cover nozzle flange and the center hole of the protective tube assembly.
Difficulties in detection
The difficulty in detecting reactor internal components lies in the large size and complex structure of the overall measured workpiece, while also requiring high measurement accuracy. This requires the implementation of measurement methods or means, which need to be guaranteed in three aspects: scale range, accuracy, and convenience and flexibility.
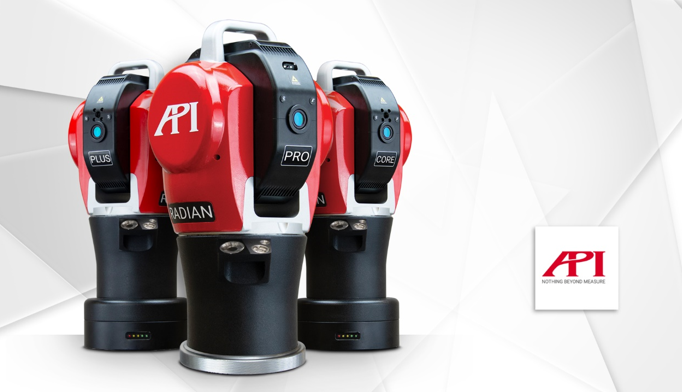
Figure 1: Radian series Laser Tracker
API laser tracker detection scheme
The Radian laser tracker, as a leading means of large-scale and high-precision measurement, has the characteristics of wide measurement range (160 meters, radius of 80 meters), high measurement accuracy (micrometer level), and flexibility, portability, and easy operation. It successfully solves measurement difficulties and easily meets the above detection needs.
During measurement, the operator holds a high-precision laser tracker ball (SMR) with a built-in prism, and the laser emitted by the Radian tracker will shoot towards the center of the SMR ball and lock the tracking in real-time; The operator only needs to touch the tested part on the workpiece with SMR, and Radian will accurately measure the three-dimensional position data of the tested point at a collection rate of 1000Hz (1000 points/second), and feedback it to the Measurement Software for recording and analysis; After the data collection of all the points to be measured is completed, the operator can use the spatial data of these points in the software to construct corresponding lines, surfaces, and bodies, thus implementing the analysis of geometric tolerances between various components or positions to be measured.
Measurement software can quickly generate inspection reports in various forms, including tables, bar charts, pie charts, arrows, color difference charts, etc., making measurement results clear at a glance and providing reliable improvement data for production.
The following is a record of the assembly and measurement of the internal components of a certain reactor
1. Deploy the Radian laser tracker at a suitable location on site.
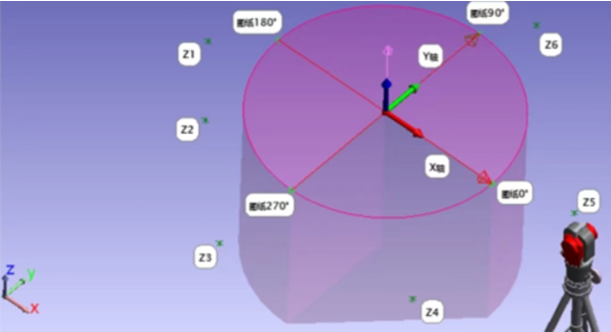
Figure 2: Deployment of Transfer Target (Z1-Z6)
2. Under the coordinate system of the sealing surface, six common transfer targets are deployed in the reactor cavity. (Please refer to Figure 2)
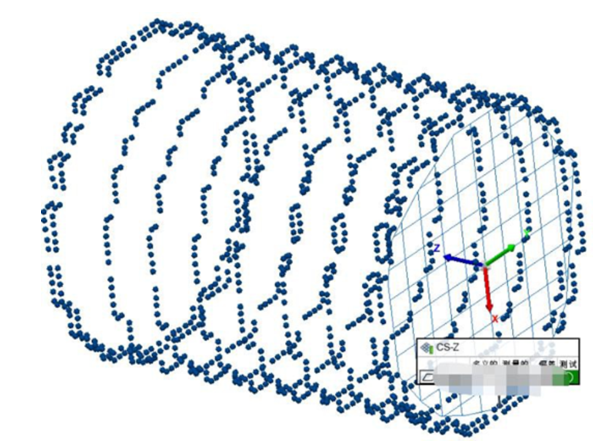
Figure 3: Collected Data
3. As mentioned above, high-precision SMR target balls are used in conjunction with Radian laser trackers to complete component data collection and establish a coordinate system (please refer to Figure 3). When measuring the plane coordinates of each layer of component hole position, first use a target ball to measure 6-8 points on the entire circular surface, fit the center coordinates, and then place the target ball and center hole position measurement fixture on the component hole to directly measure the center coordinates. The difference between the two obtained data should not exceed 0.5mm. (Please refer to Figure 4)
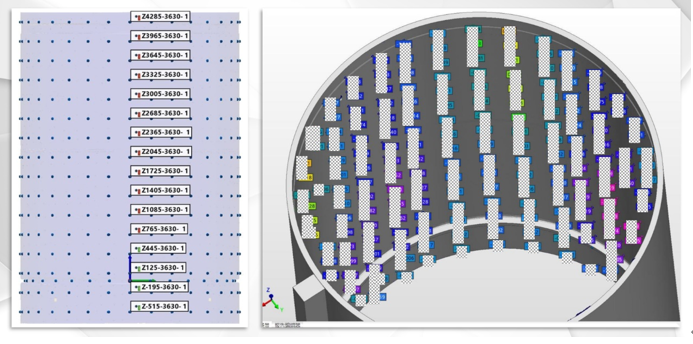
Figure 4: Height direction point position (left)&deviation data of each point (right)
4. After the core basket and core barrel are hoisted in place, the instrument coordinate system is converted to the sealing surface coordinate system by measuring six common rotating station targets. Under this coordinate system, the plane coordinates of 121 fuel support centers are measured.
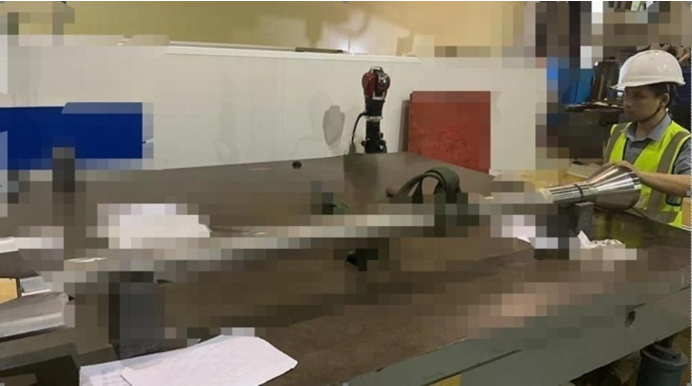
Figure 5: Measurement site of core components
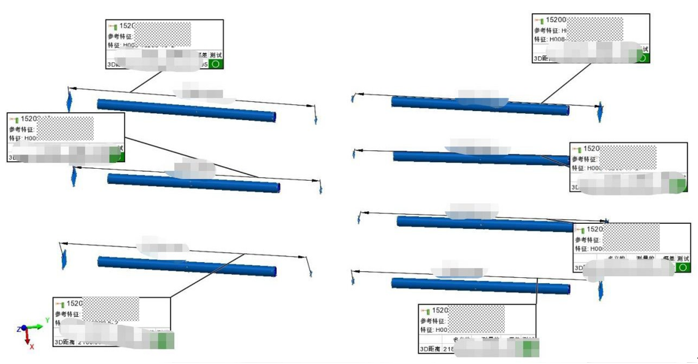
Figure 6: Analysis of Core Component Measurement Data -1
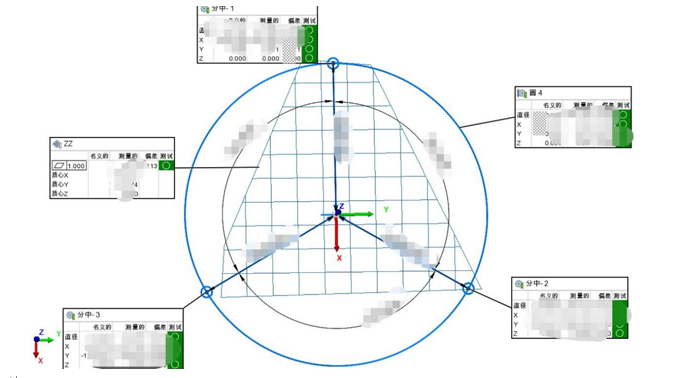
Figure 7: Analysis of Core Component Measurement Data -2
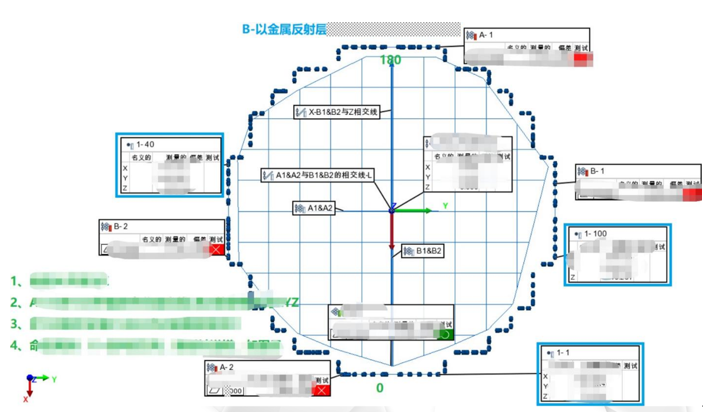
Figure 8: Analysis of Core Component Measurement Data -3
In summary, as stated in the inspection case report, the Radian laser tracker performs excellently in various aspects of measuring large-sized, high-precision, and irregular workpieces, making it an excellent solution for such inspection needs.

About API

Privacy statement: Your privacy is very important to Us. Our company promises not to disclose your personal information to any external company with out your explicit permission.

Fill in more information so that we can get in touch with you faster
Privacy statement: Your privacy is very important to Us. Our company promises not to disclose your personal information to any external company with out your explicit permission.